Reformer Pilates is a dynamic and highly effective movement system that offers resistance-based training through spring tension, a sliding carriage, and supportive elements like the footbar and straps. While it might look like a piece of equipment better suited for a science lab than a workout studio, the reformer is an incredibly versatile tool—provided you understand its parts and how they function together.
In this guide, we’ll break down the foundational components of the reformer—footbar, straps, and springs—and explain how they interact to support, challenge, and refine your Pilates practice. Whether you’re a curious beginner or looking to deepen your understanding of Pilates equipment, this overview will give you a stronger connection to how the reformer works with your body.
The Footbar: Your Reformer Anchor
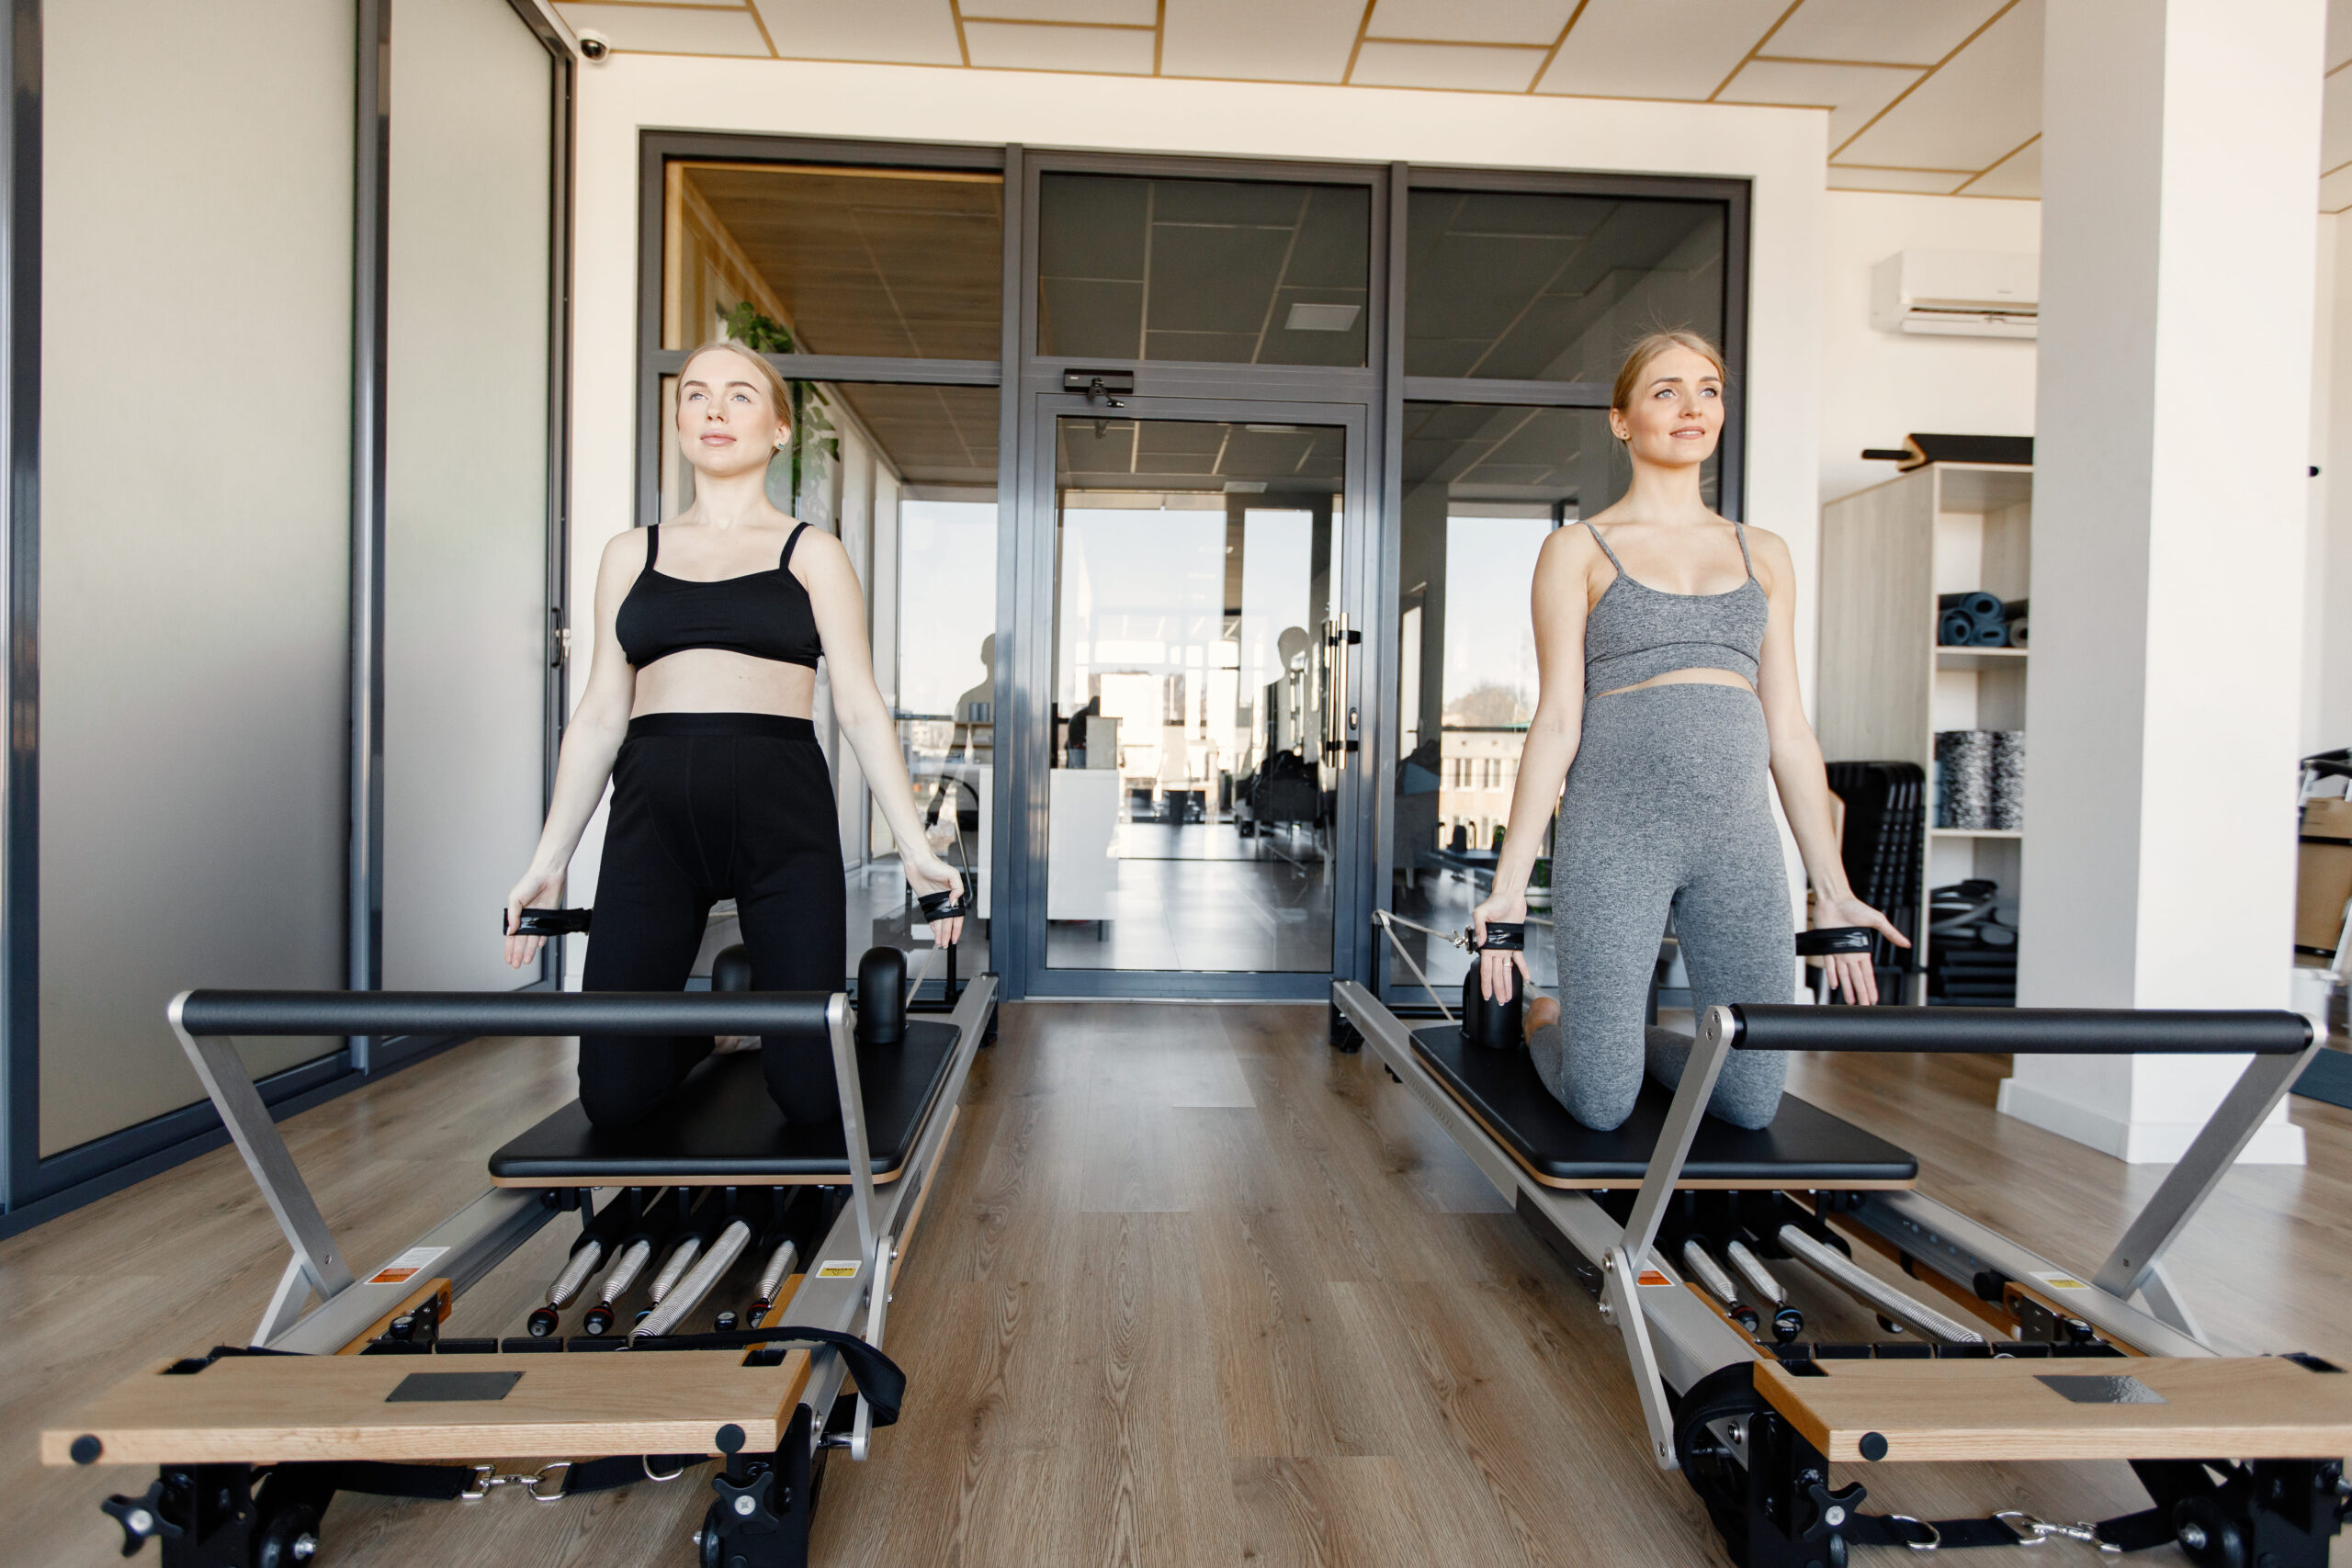
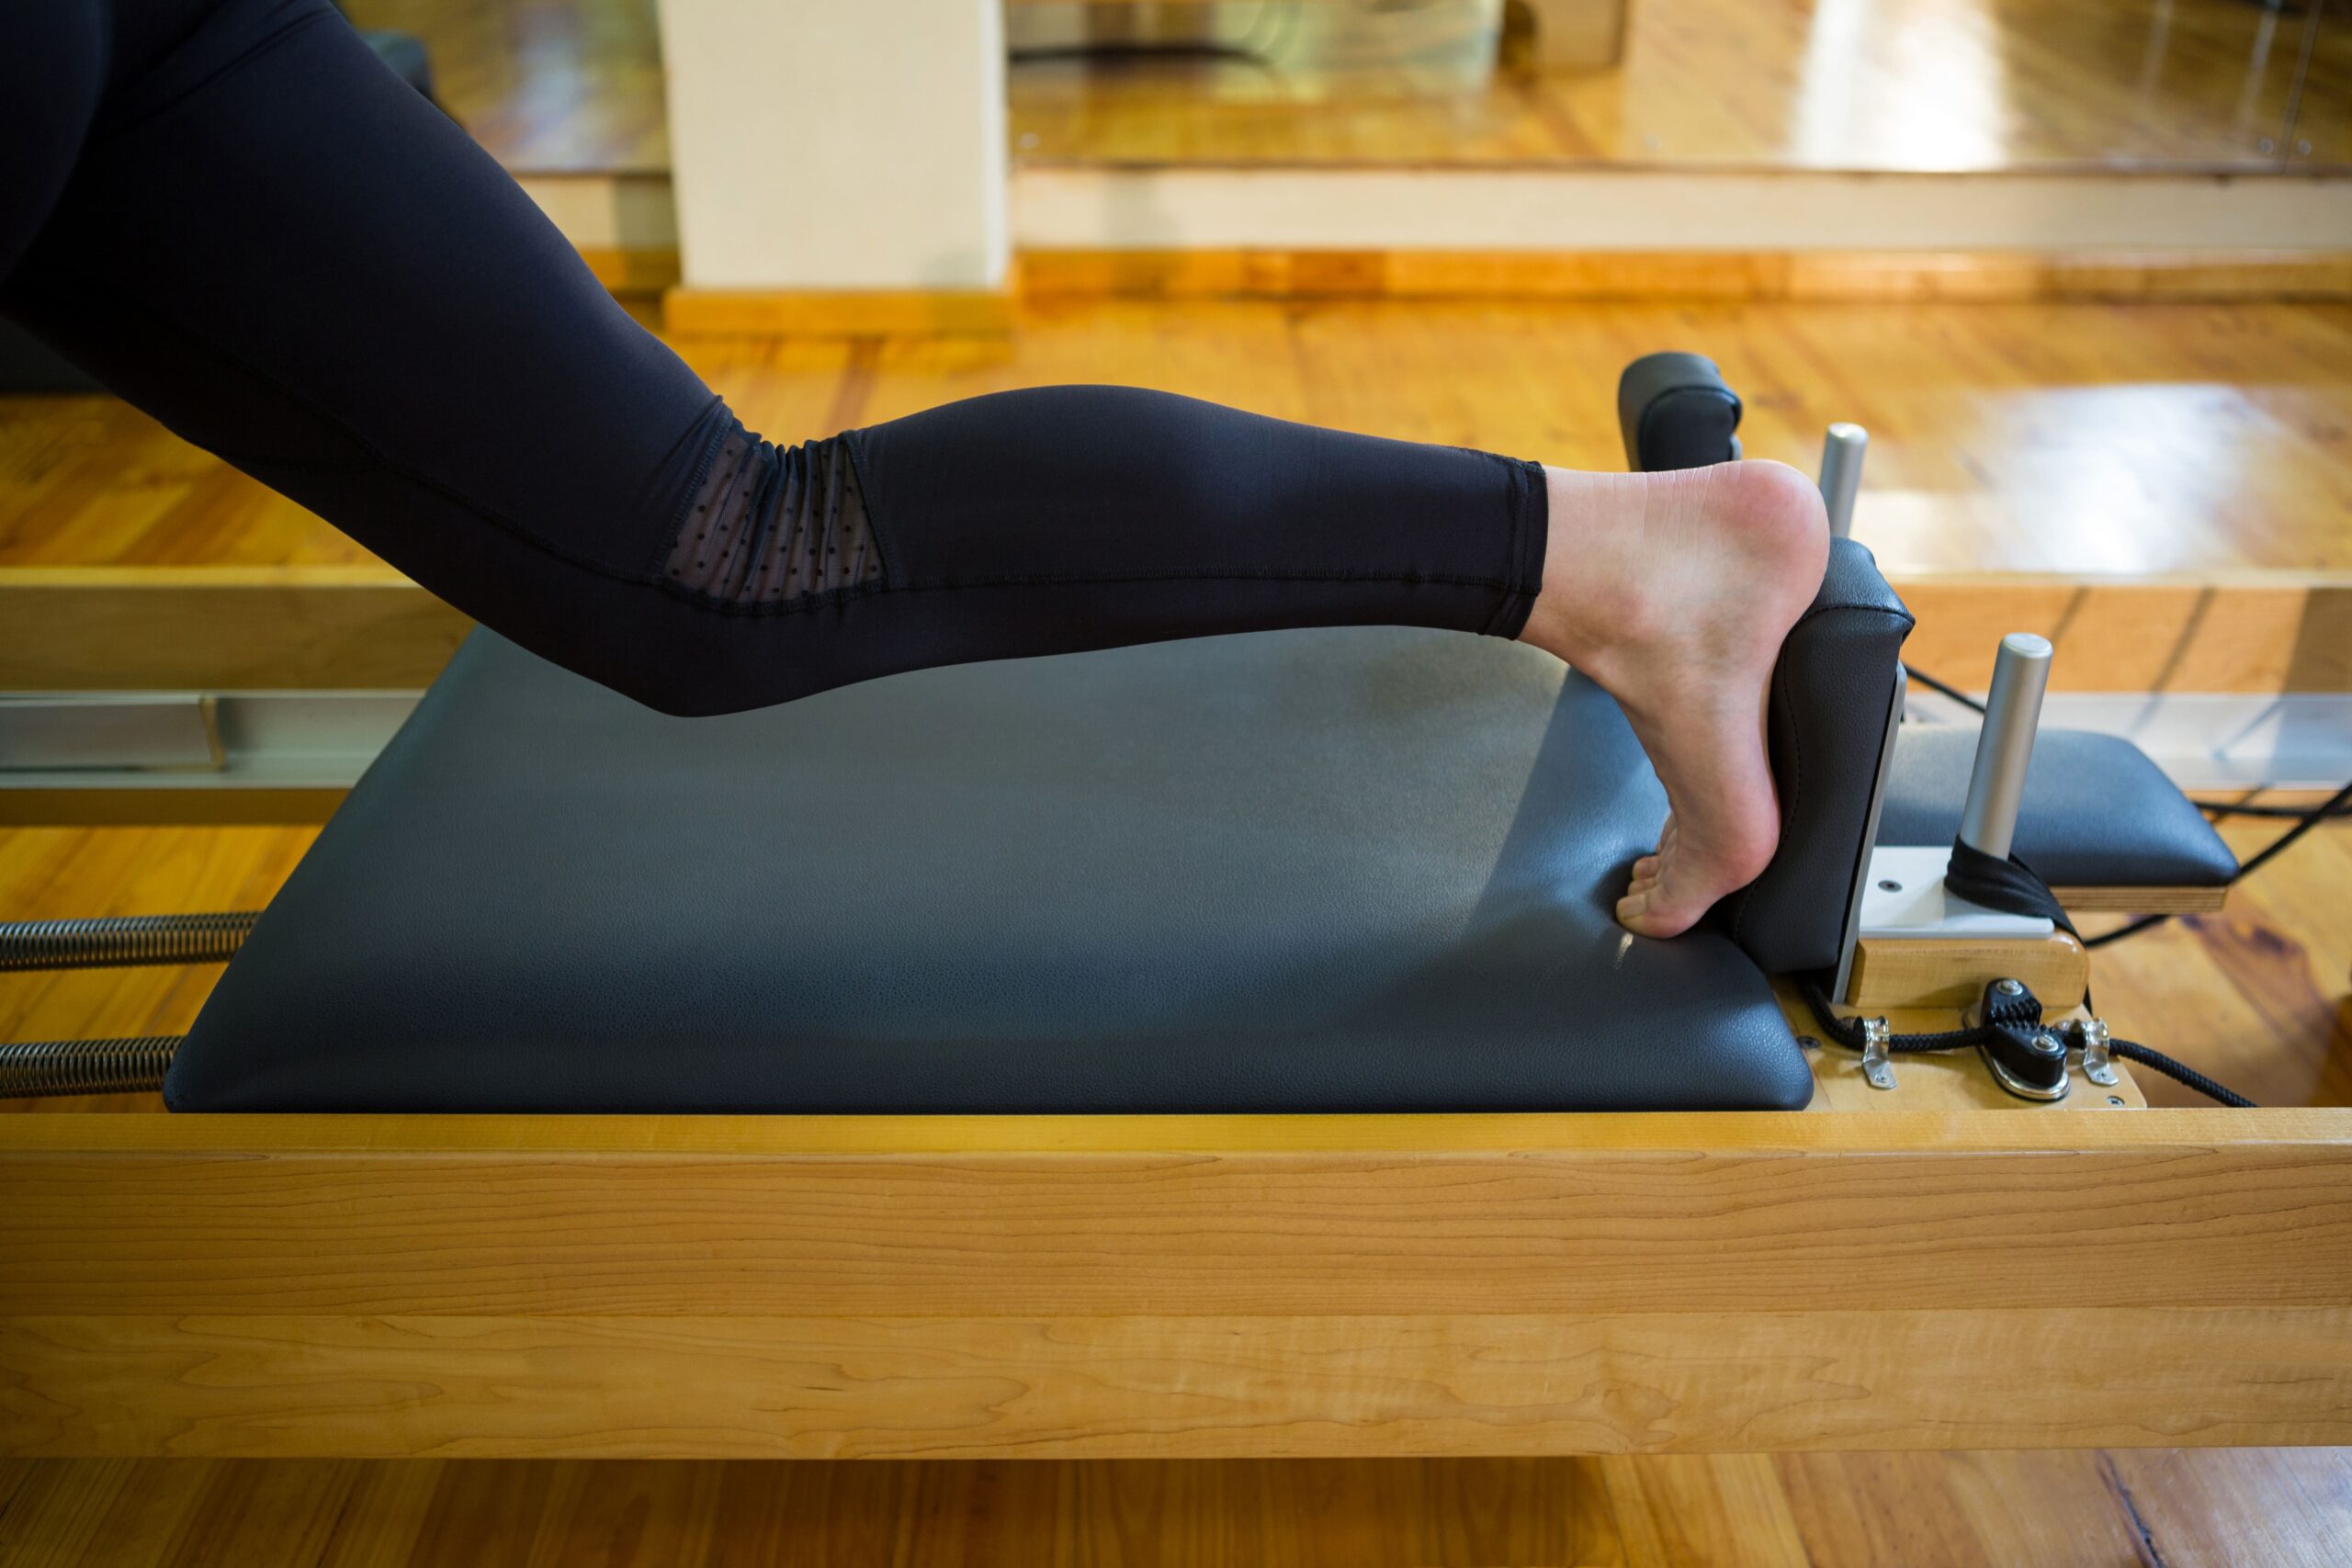 The footbar is often the first point of contact in many reformer exercises. Positioned at the front of the reformer, it provides a stable base for the hands or feet depending on the movement.
What It Does:
-
Acts as a launch point for footwork series, planks, lunges, and bridge work
-
Offers leverage and feedback for both pushing and pulling movements
-
Adjusts in height or angle depending on your flexibility and goals
Most reformers have adjustable footbars to accommodate different body types and exercise needs. For example, someone with tight hamstrings or shorter legs might benefit from a higher footbar setting in a supine position.
Common Exercises Using the Footbar:
-
Footwork Series (heels, arches, toes)
-
Bridging with Resistance
-
Long Stretch Series
-
Elephant
-
Feet in Straps Prep (starting with heels on bar)
Proper foot placement is key—small shifts can change the entire focus of the exercise. Toes on the bar emphasizes calves and quads, while heels draw in more hamstrings and glutes. This is often emphasized in Reformer Pilates Videos, where instructors demonstrate micro-adjustments that make a big difference.
For those exploring reformer work at home or in-studio, learning how to properly set your footbar is a foundational skill worth practicing every session.
The Straps: Precision, Control, and Flow
 Straps are used to perform a wide variety of upper- and lower-body exercises, typically while lying supine, seated, kneeling, or standing on the carriage. They’re attached to ropes or handles connected to pulleys that allow smooth motion while adding spring resistance.
What Straps Do:
-
Challenge stability and control
-
Allow for multi-directional movement
-
Support full-body integration in both open- and closed-chain exercises
There are typically two straps on the reformer, which can be looped around the hands or feet depending on the move. Most systems include long and short loops (or adjustable loops) to offer varying ranges of motion.
Lower Body Exercises with Straps:
-
Leg Circles
-
Frog
-
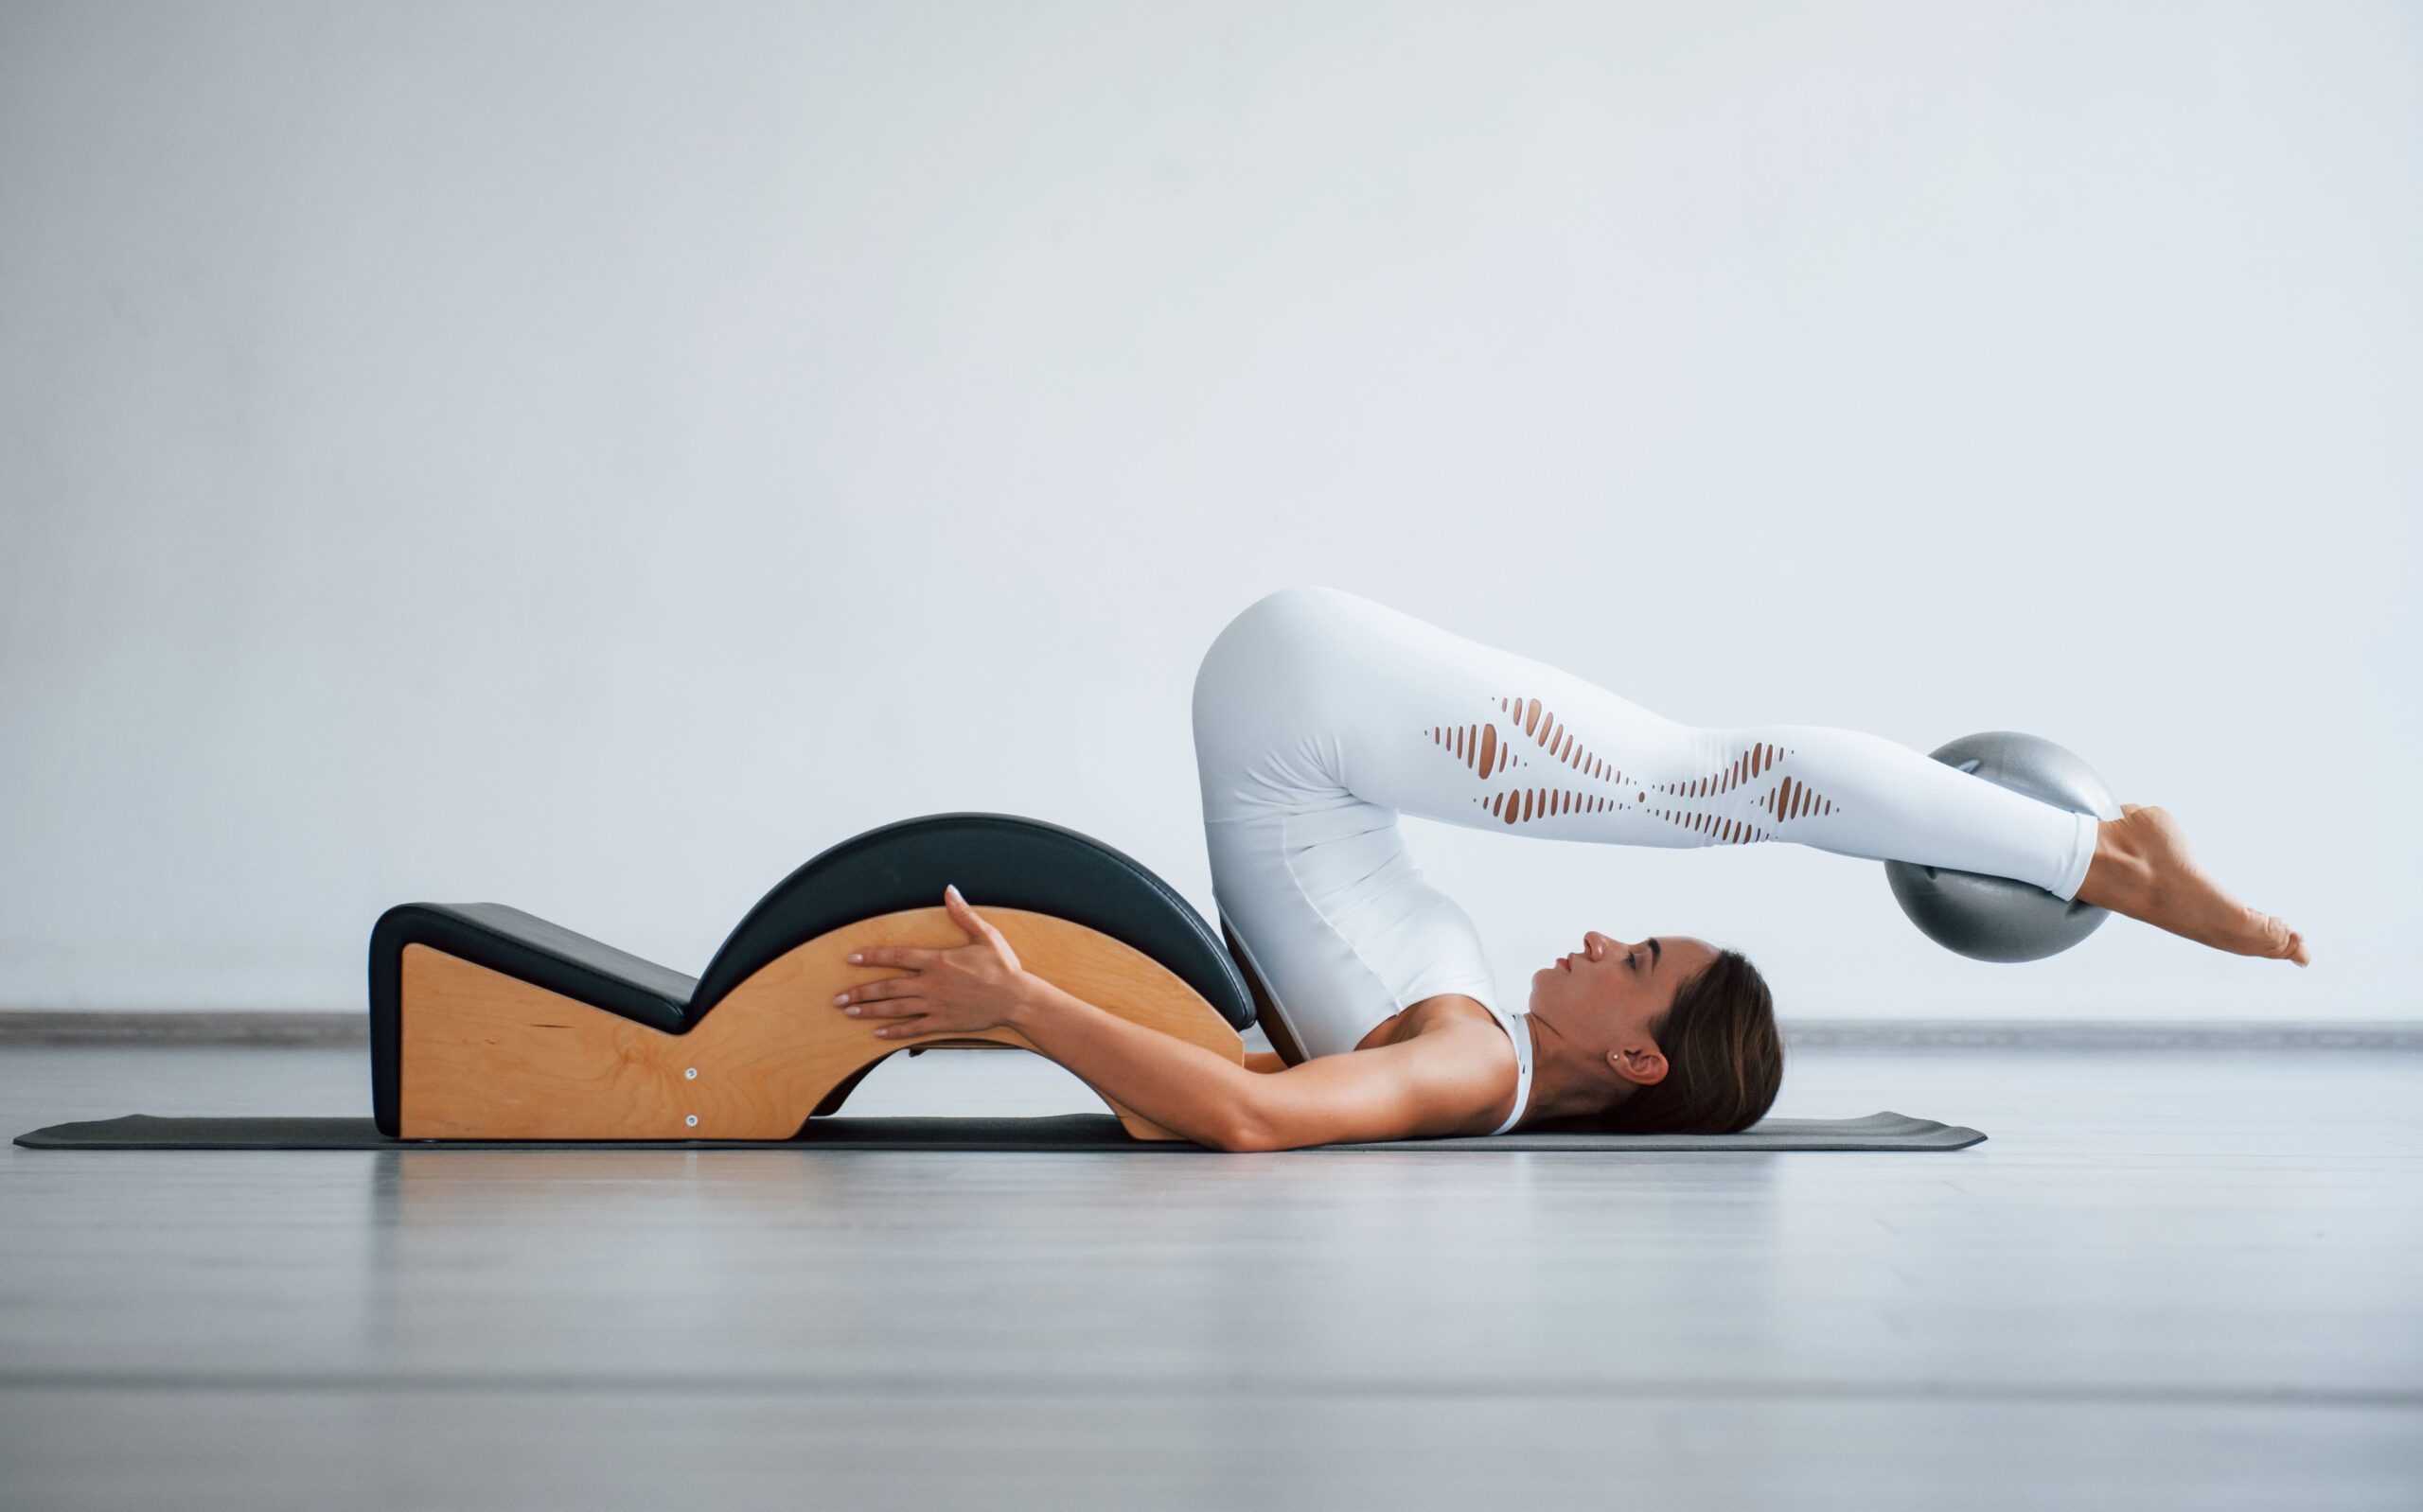
Short Spine Stretch
-
Hamstring Curls
-
Open Leg Lifts
Upper Body Exercises with Straps:
-
Arm Circles
-
Chest Expansion
-
Triceps Press
-
Rowing Series
Because you’re working against the resistance of the springs while controlling the pulleys, the straps demand precision. They’re an excellent tool for teaching shoulder blade stabilization and hip joint mobility simultaneously.
Strap work teaches the body to resist instability—one of the reasons it’s a core part of rehab-focused Pilates or sequences designed for special populations.
The Springs: The Heart of Reformer Resistance
 Unlike traditional weight-based machines, the reformer uses springs for resistance. These springs attach to the carriage and control the level of effort required to push or pull.
What Springs Control:
-
Resistance level: The heavier the spring load, the more effort it takes to move the carriage.
-
Stability: More springs provide stability; fewer springs challenge control and balance.
-
Flow and rebound: The springs assist with the eccentric (lengthening) and concentric (shortening) phases of a movement.
Most reformers have color-coded springs that represent different levels of resistance. For example:
-
Yellow: light
-
Blue: medium-light
-
Red: medium
-
Green: heavy
Spring tension is not always about “harder is better.” In fact, lighter springs often require more control—especially in core-focused movements or pelvic stability exercises. This principle is central to Pilates Equipment Videos that break down spring usage based on the goal of the workout.
Examples of Spring-Influenced Exercises:
-
Leg Press on Footbar: Adjust resistance for muscle focus
-
Short Spine with Straps: Less spring requires more control during roll-down
-
Long Stretch Series: Light springs challenge balance
-
Elephant: Light to moderate tension teaches hamstring engagement
Learning how to select your spring tension isn’t just about making the movement easier or harder—it’s about choosing the right challenge for the right intention.
Putting It All Together
Understanding how the footbar, straps, and springs work together enhances not just your technique, but your ability to move with intention and modify exercises for your own body. We recommend checking out a full guide: How the Pilates Reformer Works
Here’s an example of how these three components interact in a typical session:
-
Warm-Up – Footwork Series on Footbar
Springs: Medium
Position: Supine
Goal: Wake up legs and core, connect breath with movement -
Core Activation – Feet in Straps
Springs: Medium-light
Exercises: Frog, Circles
Goal: Deep core, hamstring flexibility, pelvic control -
Upper Body – Arms in Straps (Seated or Kneeling)
Springs: Light
Goal: Shoulder stabilization, posture awareness -
Challenge Series – Long Stretch with Plank Variations
Springs: Light
Footbar as support, straps removed
Goal: Full-body integration, balance, power -
Cool Down – Short Spine Massage (Feet in Straps)
Springs: Medium
Goal: Spine articulation, hamstring length, breath awareness
This flow can be adapted endlessly, whether you’re in a beginner class or working through a more advanced Pilates by Goal session focused on strength, posture, or flexibility.
Key Tips for Reformer Beginners
-
Ask your instructor to help you learn the footbar and strap settings that suit your body.
-
Don’t overload the springs—light resistance is often harder for control and deep core work.
-
Avoid “yanking” the straps—smooth, consistent movement builds control.
-
Keep your head neutral and shoulder blades engaged when using the footbar or straps.
These principles are commonly emphasized in Beginner Pilates Videos featuring reformer instruction, often supported by close-up camera work that shows setup, spring changes, and footbar adjustment tips.
FAQs
Do all reformers have the same footbar and strap system?
Not exactly. While the core design is similar, some brands have different mechanisms for bar adjustment, strap length, or spring loading. It’s important to get familiar with the equipment you’re using.
What’s the biggest mistake new reformer users make?
Using too much spring tension and losing form. More isn’t always better—choose resistance that allows you to move with control and full range.
Can I do reformer exercises at home?
Yes! Many companies now offer home reformers, and online classes are available to guide you. Be sure to review Pilates Equipment Videos to ensure safe and proper setup.
Why do I feel my neck or shoulders in strap work?
Likely due to overcompensation. Try reducing spring tension, checking shoulder alignment, and engaging the core more deeply to offload the upper body.
Are straps and springs used in all reformer classes?
Most classes include them, but some may focus more on bodyweight sequences or the jumpboard. Instructors tailor spring and strap work depending on the class level and goal.
When you understand how to work with the reformer—its footbar, straps, and springs—you unlock the deeper intelligence of Pilates. The machine becomes not just a tool for movement but a partner in transformation, guiding your body toward alignment, strength, and control with every breath and every rep.